Part 2
Next, the phonograph base unit was cleaned up. Although the cogs and drive-screw turned after a fashion, they were pretty gunged-up with years of accumulated dirt and grease. Everything that could be unscrewed was removed, and the non-painted parts (cogs etc) were soaked in a white-spirit bath overnight. 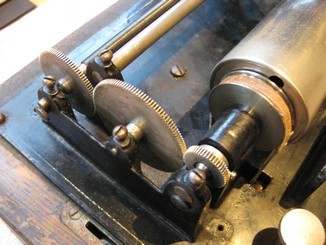 All painted metalwork was cleaned with hot soapy water, and the wooden case was given a gentle wipe with a damp cloth taking care not to further damage the ‘Edison Standard Phonograph’ transfer on the front. After brushing the dirt out of the teeth of the soaked cogs etc. the unit was reassembled, lightly oiled and a new leather belt was fitted to transfer the drive from the motor to the cylinder carrier.
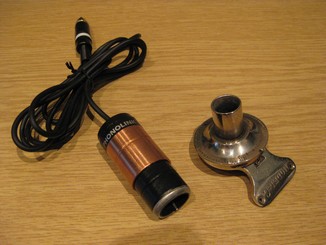
As mentioned in Part 1, the missing horn was not a problem, since I had procured a Phonolink transducer to transcribe the sound from the cylinder’s groove. This gadget fits snugly over the sound box (in place of the horn) and converts the diaphragm vibrations into an electrical signal – exactly what you need in the first stage of the transcription process:
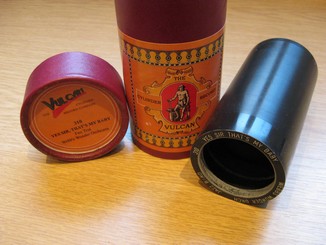
The last thing to do was to acquire a couple of cylinders to test the set-up. These were purchased from The Vulcan Cylinder Record Company, one of which is shown:
The Phonolink mic-level output was fed into the Elberg multi-curve EQ unit and thence to the Wavelab Studio DAW, just like any other signal. Once saved as a .wav file, the recording was edited, de-clicked and, to a certain extent EQ’d to reduce harshness, before burning to CD.
Click on the audio sample below (“Yes Sir, That’s My Baby” by the ‘Webb’s Wonder Orchestra’) and enjoy!